FUTURE MAKING
|
|
Based around the digital methodology of designing, within 10 weeks we learnt how to turn our designs into photo realistic renders using various 3D modelling programmes, one rendering engine and lots of late night coffee runs. |
Assignment one
|
|
The first assignment handed to us was to create 10 sketches of our futuristic mode of transport with a sci-fi base precedent. The assignment requirements consisted of incorporating movement into our design, to have an interior and exterior, the design be for humans and most importantly to not put weapons on our designs
|
|
Submission One
My aesthetic inspiration for my walking city is based on the super cool (and super creepy) H.R Gieger. The design development started with me researching long legged animals and then creating exoskeletons for them to achieve the Gieger "look"
| ||||
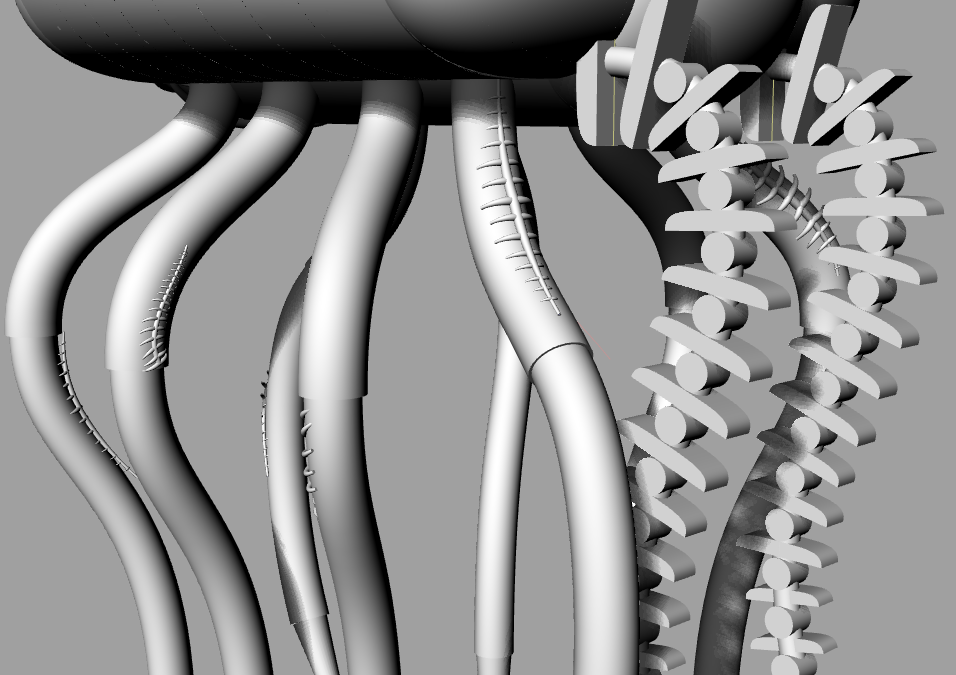
Leg details

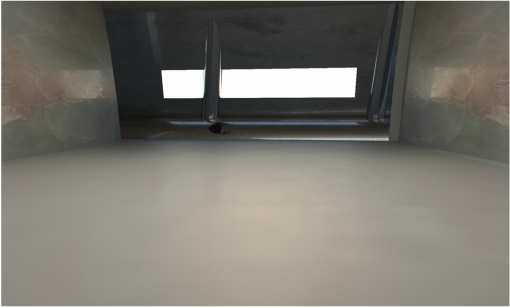
Interior detail
|

Rear view
|
3D Modelling
Rhinoceros has been my friend through the model making process of the next step of the assignment. I started off by using my sketches as a guideline on rhino and from there using a mixture of the revolve tool, extruding, splitting and pretty much every other command you can think of.
|
THE RENDER
PROCESS
THE START OF MY DEATH
|
|
Material Set UpAfter setting up the HDRI for the lighting (and forgetting to plug it into my dome light) i began the long process of setting up my materials. I began with doing the bb3viz materialism 1.5 tutorial for my metal and then using this as a guide for my other materials. My water material came from the future making website, i fiddled with the noise and wave numbers in the plug in until i was happy with the results.
My other materials consisted of granite and weathered corten steel for the interior walls and a smooth and raw concrete for the floors. |

|
Test Renders | INTERIOR
sThe interior is sectioned into two with the upper three floors consisting of more luxe materials for upper class passengers whereas the lower three floors consist of two floors for middle class passengers with less luxe materials with the last floor for leg maintenance (more of this will be explained through my orthographic drawings).
After the materials were applied furniture was added to create the scene. This was actually harder than anticipated and literally took me a day. Getting the lighting right within the scene was also very difficult and was achieved with lots of fiddling with the camera shutter speed, f-number and adding multiple light sources. |
ORTHOGRAPHIC DRAWINGS
|
My final orthographic drawings were taken from my rhino model, it took a year and a half to make 2D but eventually we got there. I put the line drawings into AutoCad to clean up the lines afterwards and then changed all the line weights using Illustrator. I turned the opacity of a couple of my renders down to place behind my line work to give it a bit more context and depth.
|
FINAL RENDERS
|
In the process of creating my final renders i think i made a million test renders. The average time it took for a render to finish was between an hour and 3 hours so during this time i would work on this blog or my drawings (this is a lie i actually just slept). I made some nice renders that i didn't submit as a final render within this assignment but i've attached some of them in the link below if you're interested to see how much time i spent on this assignment (a lot).
|
SUBMISSION TWO
| futuremaking_asgn2.pdf |
